
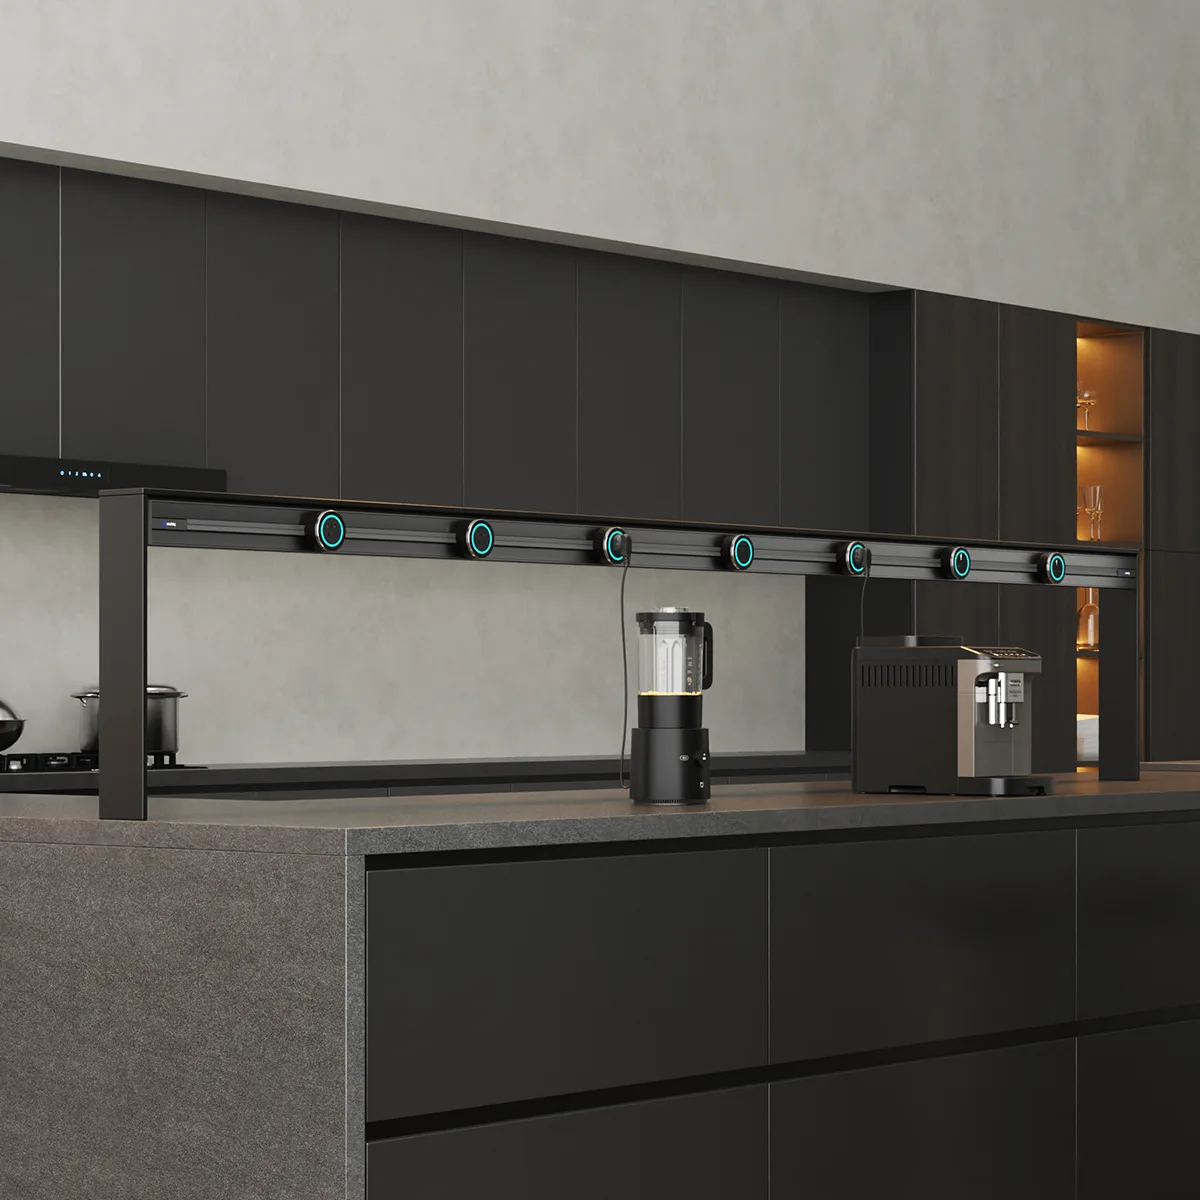
The following is the installation and use guide of wall-mounted power rails, which is organized in combination with the operating specifications:
1. Installation process
Power-off preparation: Turn off the corresponding circuit switch of the distribution box, and use a test pen to confirm the operation after power off.
Fix the back panel: Tear off the back panel tape, mark the punching position on the wall; insert the expanding rubber particles after the impact drill opens the hole, and lock the back panel with screws.
Wiring specifications: Open the junction box, connect the neutral wire, live wire, and ground wire according to the mark; Wiring hole difference processing: If the wall inlet is blocked by the back panel, it needs to be installed in an offset position and threaded from the inside through the wire hole; if there is no pre-buried wire, the upper cover of the junction box needs to be knocked off to lead the wire through the wire hole; the perforated board installation needs to use a connecting iron sheet to fix the power cord.
Enclosed debugging: Lock the wiring cover, buckle the rubber plug to organize the wires, and test the indicator light status after power on.
2. Safety precautions
Wire matching: 1.5mm² wire limit 4000W, 4.0mm² wire support 8000W, overload is strictly prohibited.
Protective design: socket module with independent rotation power off and child safety door.
3. Usage tips
Socket module operation: After inserting the track, rotate the outer ring clockwise to power on (indicator light on); before moving, press and hold the unlock button and rotate counterclockwise to power off and unplug.
Layout optimization: It is recommended to choose a 1m track + 5 socket configuration for the kitchen, with a spacing of >20cm to disperse high-power electrical appliances; the study can choose a model with LED lights to improve the convenience of night operation.